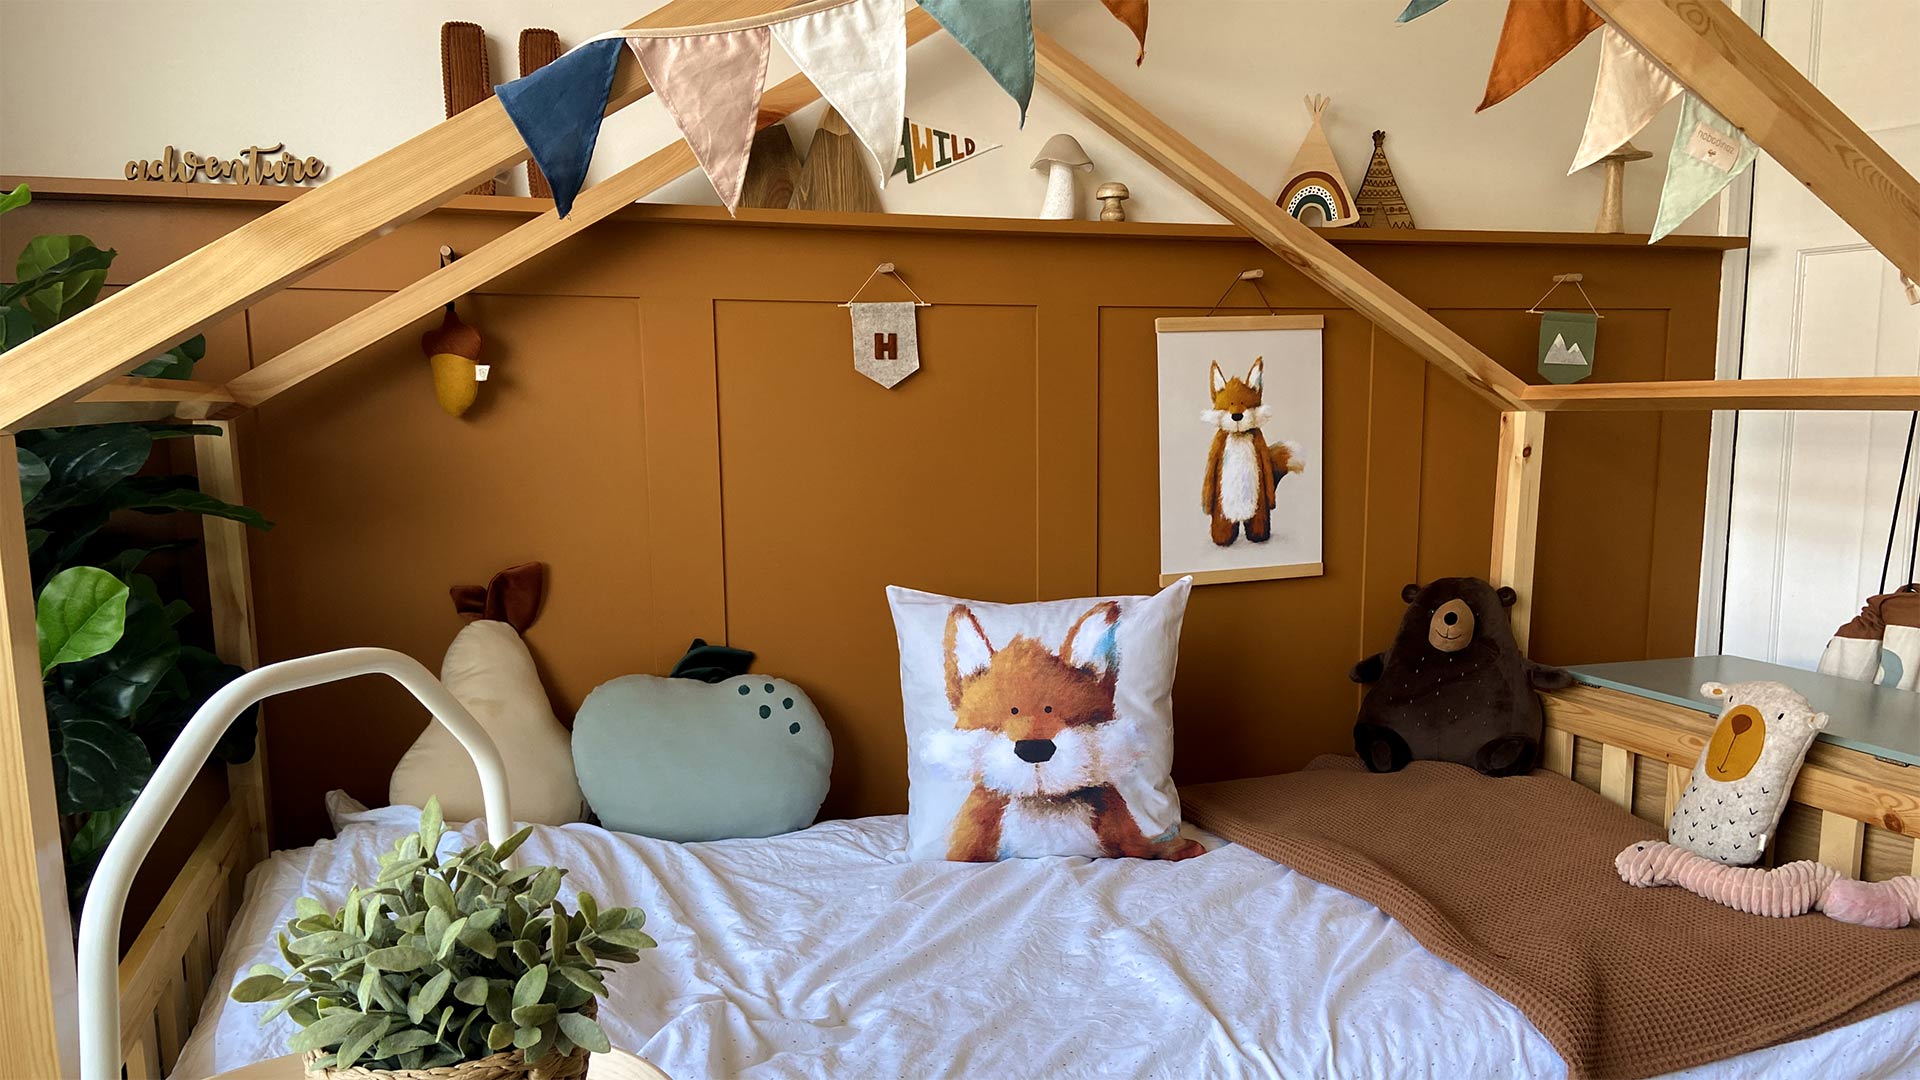
Nursery Print Framing: A Step-by-Step Guide for a picture-perfect nursery
So you’ve chosen the perfect artwork to transform your nursery into a beautifully charming and inviting space for your little one, but now you need the perfect frames to elevate those little beauties and add that final touch of magic to bring it all together. In this blog post, we'll provide a comprehensive guide packed with helpful tips and tricks on how to frame your nursery wall art, covering everything from choosing the right frame to the installation process, so let's dive right in...
How many prints can I fit on my wall?

When planning your wall art, you need to balance wall space, the number of frames on the wall, artwork size and mount size. Here’s a quick guide on how to get the best results:
- Measure your wall space: The best way to start is by measuring your wall. Jot down the width and divide it by the number of frames you are considering hanging. Remember to include extra space between each print and the corners of the room.
- Avoid hanging prints over the cot: For safety purposes, avoid hanging anything above the cot unless it is firmly and permanently secured and well out of reach.
- Gallery wall orientation: Next, decide how you would like to orientate the frames on the wall. Will they look best in a line, 2x2 or a more scattered gallery wall effect? Take your time deciding what will make the most impact in your space.
- Allocating space: From this, you can work out what size frames you can go up to. Remember to leave enough space between each frame to ensure they don’t look too cluttered on the wall.
- Check it: A simple trick to make ensure the frames will fit and look right is to make some templates out of plain paper and temporarily tac them up on the wall. This way you can check size, positioning and orientation before you go drilling any holes.
Where can I get frames to fit my Tigercub Prints artwork?
To keep things simple, all of our artwork comes in simple A-sizes: A5, A4 and A3. Here is a simple size guide to check against frames:
A3 (Large) - 297 x 420mm / 11.69 x 16.54 inches
A4 (Medium) - 210 x 297mm / 8.27 x 11.69 inches
A5 (Small) - 148 x 210mm / 5.83 x 8.27 inches
This makes frame shopping for frames nice and simple. Here are some frames that we recommend:
A5 Frames:

M&S Oak Effect Wood Photo Frame 6x8 inch £5
A4 Frames:

Ikea RÖDALM - Birch effect 30x40 (With mount) £8
M&S Oak Effect A4 Frame (With Mount) £7.50
Asda A3 Picture frames x3 (A4 With mounts) £18 for 3
A3 Frames:

Asda A2 Picture frame (A3 with mount) £8
Picking the right frame for your nursery prints:
Here are some factors to consider when choosing your frames:
- Material: Frames are available in various materials but in general, wood frames are both classic and timeless while metal frames tend to offer a modern, sleek look. Finally, plastic frames are lightweight and affordable but may not be as durable or classy as other materials.
- Colour and style: The frame's colour and style should complement the artwork and the room's decor. Think about the dominant colours in the artwork as well as the materials and shades within the room’s furniture and choose a frame that matches or contrasts.
- Glass or plastic: We would always recommend plastic glazing for a nursery as glass is far more dangerous if the frame gets knocked off the wall and when the frames are up on the wall there is little to no difference between glass or plastic.
- Do I need a mount? Mounts are designed to provide a visual break from the frame and draw more focus to the artwork itself and whilst a mount is by no means essential, it will often add more impact and interest, elevating it and allowing it to shine.
- Professional Framing: Framing companies can create a bespoke frame and mount for your artwork using whatever materials, finishes and fixings you need to display your artwork beautifully.
How do I hang my framed children’s prints on the wall?

Once the frame is assembled, it's time to hang it on the wall. Here are some steps to follow:
- Measure: Use a measuring tape and a calculator to divide up the wall space to make sure the frames are evenly spaced. Draw a quick diagram on some scrap paper to make sure your measurements are spot on before you start.
- Level and Mark: Next, mark the top centre of each frame position on the wall using a pencil and use a spirit level or laser level if you're fancy to make sure everything is straight.
- Hang the frame: There are many ways to fix your frames to your walls. Many have hanging hardware such as hooks and wires. Follow the instructions provided to attach these correctly. If not, 3M Command Strips provide an easy tool-free way of hanging and repositioning your frames, but don’t forget to use a level to ensure that the frame is straight.
- Enjoy your artwork: Finally, rub out any visible pencil markings, step back and admire your artwork!
Framing your wall art is essential to display your artwork in its best light and protect it for years to come. By picking the right frame, as well as mounting and displaying your prints carefully you can create a wonderful feature in your baby's nursery or child's bedroom that they will love and you can admire.
If you have any further questions regarding framing your artwork, please don’t hesitate to get in touch and we’ll be happy to help in any way we can.


